The kitchen is the hardest-working room in most Tampa Bay homes. It faces cooking grease, steam, food splatters, temperature swings from oven use, and heavy daily traffic. Standard interior paint that works fine in a bedroom or living room will stain, yellow, and degrade in a kitchen environment within a fraction of its normal lifespan. Kitchen painting requires products and preparation specifically chosen for the unique demands of this high-use space.
Westchase Painting Company provides professional kitchen painting services throughout Westchase, Carrollwood, South Tampa, and the greater Tampa Bay area. This is kitchen wall and ceiling painting, not cabinet painting, which is a separate, specialized service covered on our cabinet refinishing page.
Why Is Kitchen Painting Different from Other Interior Painting?
Kitchens generate environmental conditions that no other room in the home produces, and these conditions directly affect how paint performs:
- Airborne grease: Every time you cook with oil, fry, sauté, or roast, microscopic grease particles become airborne and settle on every surface in the kitchen, including walls and ceilings. Over months and years, this creates a thin, sticky film that discolors paint (especially white and light colors) and prevents new paint from adhering unless it is properly cleaned.
- Cooking steam and moisture: Boiling water, steaming vegetables, and dishwasher steam all release significant moisture into the kitchen air. Combined with Tampa Bay's ambient humidity, kitchen surfaces face moisture exposure second only to bathrooms.
- Temperature fluctuations: Oven use can raise the ambient temperature in a kitchen by 10 to 15 degrees, particularly near the range and oven wall. This thermal cycling expands and contracts the paint film, stressing adhesion, especially on the wall directly behind the range.
- Food splatter and contact: Walls near prep areas, behind sinks, and flanking the range receive direct food contact. Tomato sauce, coffee, wine, and cooking oils leave stains that must be cleanable without damaging the paint finish.
- Cleaning frequency: Kitchen walls are cleaned far more frequently than walls in any other room. Paint that cannot withstand regular wiping with household cleaners will scuff, dull, and wear through in the areas cleaned most often.
How Do We Prepare Kitchen Walls for Painting?
Kitchen preparation goes beyond what is required in other rooms because of the grease film that accumulates on kitchen surfaces. Even in well-ventilated kitchens with range hoods, some grease migration occurs on walls and ceilings:
Degreasing
The most critical preparation step in kitchen painting is thorough degreasing. We wash all kitchen wall and ceiling surfaces with a TSP (trisodium phosphate) solution or equivalent degreaser. TSP cuts through the invisible grease film that prevents paint adhesion. This step is not optional, painting over a grease-filmed surface results in peeling and poor adhesion regardless of how good the paint is.
The area behind and above the range typically has the heaviest grease accumulation and may require multiple TSP applications. Ceiling areas directly above the cooking surface receive focused attention, as rising steam carries the highest concentration of grease particles upward.
Surface Repair
Kitchen walls commonly have specific damage patterns: nail holes from hung utensils and art, dents from pot handles and chair impacts, and water damage around sinks and dishwashers. All holes are filled with spackling compound, cracks are caulked, and any water-damaged drywall is repaired or replaced. The wall behind the sink is inspected for mildew and treated if necessary.
Masking and Protection
Kitchens have more items to protect during painting than any other room: countertops, cabinets, appliances, backsplash, hardware, light fixtures, and flooring all require careful masking. We use painter's plastic sheeting over countertops and appliances, premium masking tape along cabinet edges and backsplash lines, and drop cloths on all floor areas. Every outlet cover and switch plate in the painting area is removed.
What Paint Products Do We Use in Kitchens?
We specify kitchen paint based on three performance requirements: washability, grease resistance, and moisture resistance.
For Kitchen Walls
Our standard kitchen wall paint is Sherwin-Williams Emerald Interior in satin finish. This product provides:
- Exceptional washability: Can be cleaned repeatedly with household cleaners and a soft cloth without dulling or wearing through the finish. Rated for heavy-duty scrubbing resistance.
- Stain resistance: The hard, dense film resists absorption of food stains, coffee, wine, and cooking splatters. Most stains can be cleaned within 24 hours without leaving a mark.
- Anti-microbial properties: Inhibits mildew and bacterial growth on the paint surface, important in food-preparation environments.
- Low VOC: Zero-VOC formula means no harmful off-gassing, which is important in the room where food is prepared.
For walls that need maximum protection. the wall behind the range, next to the sink, or in a kitchen that sees heavy daily cooking. we may upgrade to semi-gloss finish for even better grease resistance and cleanability.
For Kitchen Ceilings
Kitchen ceilings collect more airborne grease than any other ceiling in the home. We use a mildew-resistant ceiling paint in satin finish (rather than the flat finish used on other room ceilings) for improved cleanability. If the existing kitchen ceiling is heavily yellowed from years of cooking exposure, a full coat of stain-blocking primer is applied before the topcoat.
What About Open-Concept Kitchens?
The majority of homes in Westchase, New Tampa, and Wesley Chapel built since the mid-1990s feature open-concept floor plans where the kitchen flows directly into the family room, dining area, or great room. This layout creates specific painting considerations:
- Color continuity: In an open floor plan, the kitchen wall color is visible from the living and dining areas. The colors must work together harmoniously. This does not mean they must be identical. a slightly different shade or sheen in the kitchen is acceptable and often recommended for practical reasons, but they should be from the same color family.
- Transition points: Where the kitchen ends and the living area begins, the paint change needs a clean, logical transition. Inside corners, columns, and half-walls are natural break points. We plan these transitions during our estimate visit so the color change looks intentional, not accidental.
- Sheen differences: The kitchen may need a satin or semi-gloss finish for durability, while the adjacent living room has an eggshell or matte finish. When these meet at a transition point, the sheen difference is visible. We select sheens that minimize the contrast, satin in the kitchen and eggshell in the living room is a comfortable transition that most people do not notice.
What Kitchen Colors Are Popular in Tampa Bay?
Kitchen color preferences in Tampa Bay have shifted significantly in recent years:
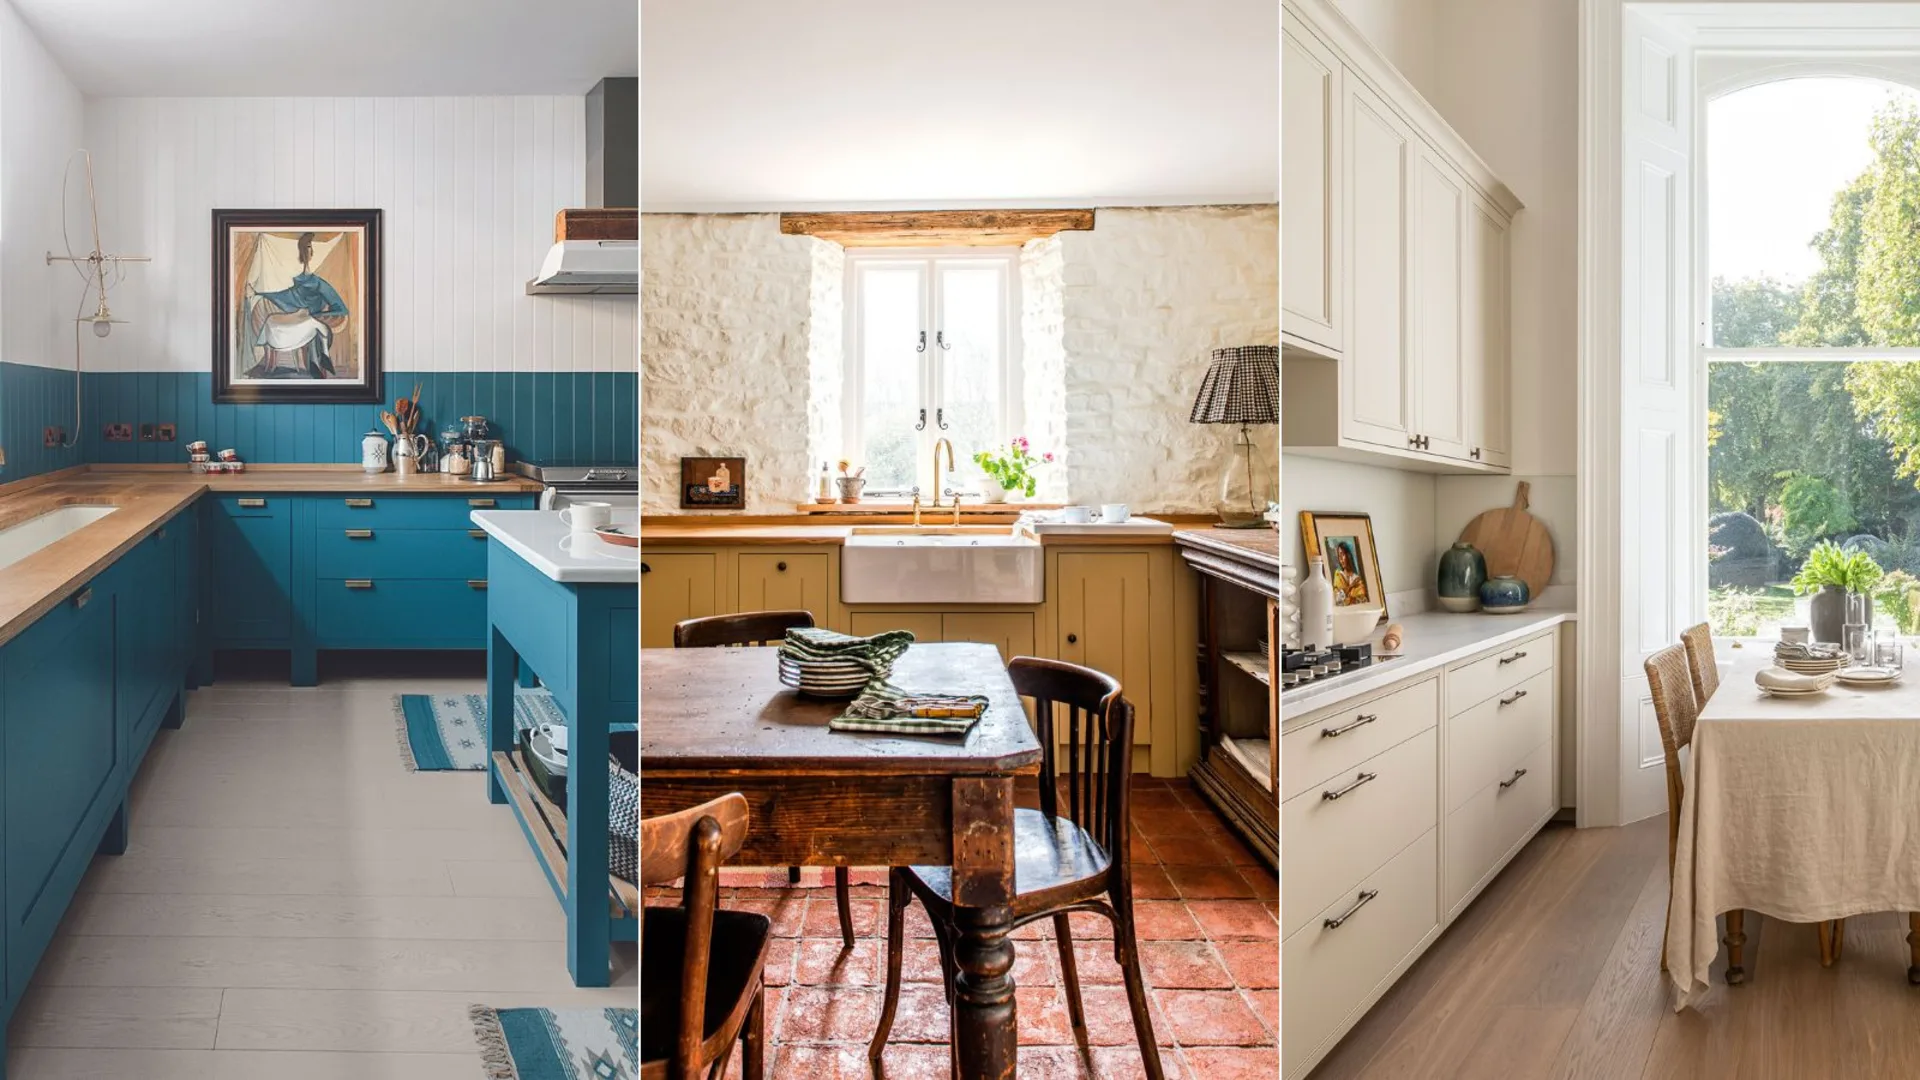
- White and off-white: Still the most popular choice, particularly in homes with white or light-colored cabinets. Sherwin-Williams Pure White (SW 7005) and Alabaster (SW 7008) are the two most requested whites for Tampa Bay kitchens. They create a bright, clean backdrop that makes kitchens feel larger.
- Warm greens: Soft sage and olive-green tones have surged in popularity. Colors like Sherwin-Williams Evergreen Fog (SW 9130) pair beautifully with white cabinets and natural wood elements. These greens bring the lush, tropical feeling of Tampa Bay's landscape indoors.
- Navy and dark blue: As an accent wall or in kitchens with lighter cabinets and countertops, deep blues like Sherwin-Williams Naval (SW 6244) create a sophisticated, high-end look. These are most popular in South Tampa renovations and newer Westchase homes.
- Warm neutrals: Agreeable Gray (SW 7029) and Accessible Beige (SW 7036) remain reliable choices that work with virtually any cabinet color and countertop material. These are particularly popular in kitchens being refreshed for resale.
How Does Kitchen Painting Coordinate with Cabinet Refinishing?
Many homeowners who are repainting kitchen walls are also considering updating their cabinets. We offer cabinet refinishing as a separate service and can coordinate both projects for maximum efficiency:
- Walls first, then cabinets: If both are being done, we typically paint walls first (since wall paint drips are easily addressed during cabinet prep) and then refinish cabinets.
- Color coordination: Our color consultation service ensures wall and cabinet colors complement each other and work with your countertops, backsplash, and flooring.
- Bundled pricing: Combining kitchen wall painting with cabinet refinishing as a single project is more cost-effective than scheduling them separately because setup, masking, and mobilization costs are shared.
What About the Breakfast Nook, Pantry, and Butler's Pantry?
Many Tampa Bay kitchens include adjacent spaces, breakfast nooks, walk-in pantries, butler's pantries, and laundry rooms off the kitchen. that should be painted as part of the kitchen project for visual continuity. These spaces often share the same wall color as the kitchen and benefit from the same durable, washable paint specification.
Pantry interiors receive special attention: we clean all shelving areas, repair any damage from shelf brackets or mounted organizers, and apply a light, bright color that makes pantry contents easy to see. Many homeowners take the opportunity during a kitchen repaint to upgrade their pantry interior from the builder-grade flat paint that stains easily to a durable satin finish.
How Long Until the Kitchen Can Be Used After Painting?
Light kitchen use (accessing the refrigerator, microwave, and sink) can resume the same day painting is completed, after masking is removed and paint is dry to the touch (typically 2 to 4 hours with the products we use). Full cooking, including stove and oven use that generates steam and grease, should wait 24 hours to allow the paint to cure sufficiently.
The paint reaches full hardness and chemical resistance in approximately 7 days. During this curing period, avoid aggressive cleaning of the freshly painted surfaces. After 7 days, the finish is fully cured and can be cleaned normally.
Ready to refresh your kitchen? Contact Westchase Painting Company at (813) 320-8710 or request a free estimate online. We serve homeowners throughout Westchase, Carrollwood, New Tampa, South Tampa, and the entire Tampa Bay area.